Vineforce Teams Web Application
Overview
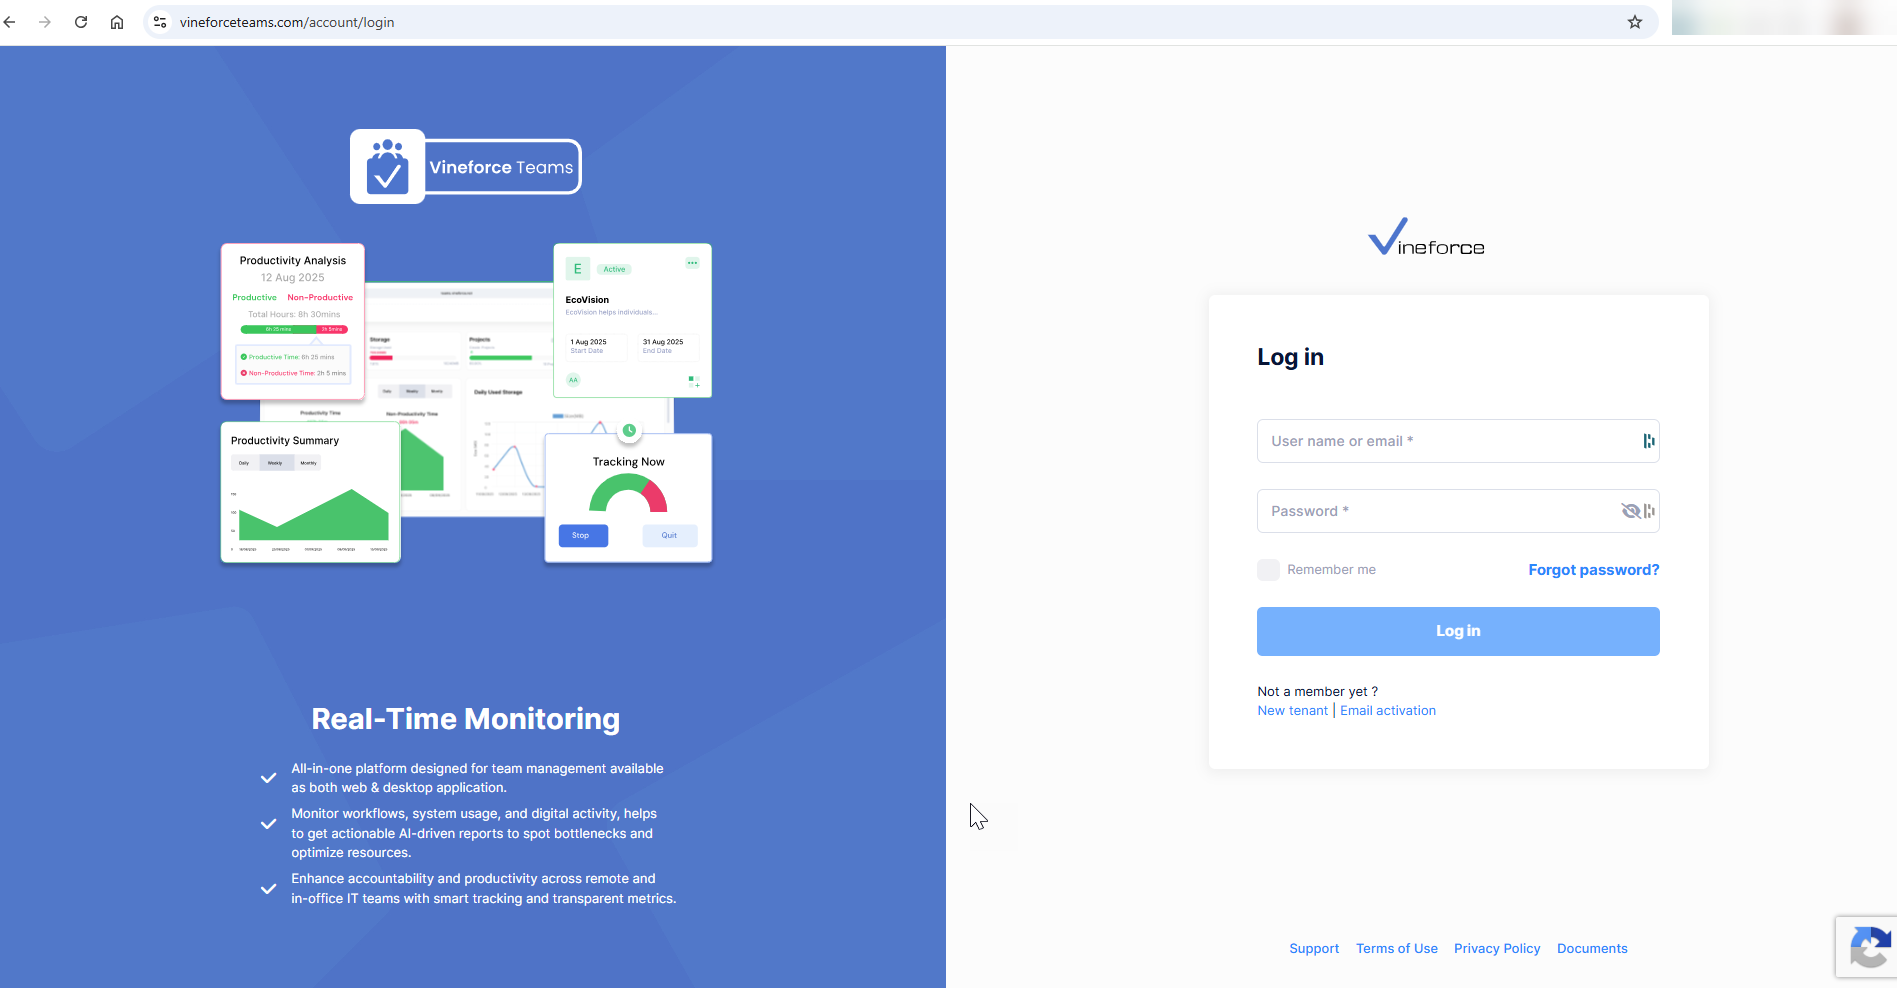
The Vineforce Teams Web Application is the central management and reporting interface of the platform deployed on your infrastructure.
It allows administrators, managers, and authorized users to configure settings, manage users, monitor productivity, and analyze reports from a secure web-based dashboard running on your infrastructure.
The web application works together with the Vineforce Teams Lite(Silent) Application and Vineforce Teams Desktop Application, which collects activity data from user systems.
What Is the Web Application Used For?
The Web Application acts as the control center for Vineforce Teams on your infrastructure.
Using the web application on your infrastructure, you can:
- Manage users, roles, and permissions
- Configure App Settings and Account Settings
- Create and manage projects and employee shifts
- View dashboards, reports, and analytics
- Monitor productivity and activity trends
- Manage deployment-specific configurations
No activity tracking is performed directly in the web application. All tracking data is collected by the Desktop Application or Lite (Silent) application and sent to your infrastructure.
Prerequisites
Before deploying the web application, ensure you have:
- Database Setup Completed - Follow the Database Setup guide to create the database schema using the migrator image
- Docker Environment - Docker installed and configured on your deployment target
- SQL Server Access - Connection string to your Vineforce Teams database
- Azure Storage Account - For screenshots and log storage
- Domain/URL - Public application URL for access
- reCAPTCHA Keys (optional) - If reCAPTCHA is enabled
Deployment Options
Choose the deployment option that best fits your infrastructure:
🌐 Azure App Service (Linux Container)
Deploy to Microsoft Azure App Service using the public Docker image from Docker Hub.
→ View Azure App Service Deployment Guide
- Best for: Organizations using Azure cloud infrastructure
- Complexity: Low (managed platform)
- Features: Auto-scaling, built-in monitoring, SSL management
🖥️ Docker Desktop (Localhost/VM)
Deploy locally on your machine or on a VM using Docker Desktop.
→ View Docker Desktop Deployment Guide
- Best for: Local development, testing, or VM-based deployments
- Complexity: Low
- Features: Direct control, minimal overhead, easy debugging
Core Configuration (All Deployments)
Regardless of deployment method, these configurations are required:
Container Image
Get container image from vineforce/vineforce-teams:main
Image: vineforce/vineforce-teams:main
Port: 8080
Required Environment Variables
| Category | Variables |
|---|---|
| Application | ASPNETCORE_ENVIRONMENT, ASPNETCORE_URLS, WEBSITES_PORT |
| URLs | App__ClientRootAddress, App__CorsOrigins, App__ServerRootAddress, appBaseUrl, remoteServiceBaseUrl |
| Database | ConnectionStrings__Default (from Database Setup) |
| Storage | Azure__Storage__ConnectionString |
| Security | Recaptcha__SiteKey, Recaptcha__SecretKey (if enabled) |
| Key Vault | Configuration__AzureKeyVault__IsEnabled |
Network Requirements
- Inbound: Port 80/443 (HTTP/HTTPS) for web access
- Outbound: Access to SQL Server (port 1433), Azure Storage, and external APIs
Quick Start Checklist
- Complete Database Setup
- Choose deployment method
- Configure Docker environment
- Set environment variables
- Deploy container
- Verify deployment
- Configure initial settings in web application
Next Steps
After deploying the web application:
- Access the Application - Navigate to your configured URL
- Initial Configuration - Set up admin user, organization, and basic settings
- Deploy Desktop Applications - See Desktop Application guide
- Configure Silent Mode (if needed) - See Silent Mode (Lite) guide
- Set Up Integrations - Configure Azure DevOps, ClickUp, etc.
Support
If you encounter issues during deployment:
- Check the troubleshooting section of your specific deployment guide
- Review Database Setup Troubleshooting
- Contact Vineforce support for enterprise deployment assistance