Uninstall Vineforce Teams Lite on Windows Using PowerShell
Uninstall Vineforce Teams Lite on Windows (PowerShell)
Windows | Complete Removal
This guide covers the automated PowerShell cleanup of Vineforce Teams Lite on Windows. The script handles everything: stops running processes, removes application files, and deletes all user data including authentication tokens.
One script handles complete removal:
- Identifies and stops running processes
- Deletes application files from
%LOCALAPPDATA%\.vineforce\public\ - Removes user data including tokens from
%LOCALAPPDATA%\.vineforce\ - Provides confirmation of successful removal
No manual file management is required after the script starts.
Prerequisites for Windows uninstall
| Requirement | Details |
|---|---|
| Operating System | Windows 10 / 11 |
| PowerShell | Windows PowerShell 5.1+ — built into Windows |
| Existing Installation | Vineforce Teams Lite must be installed via the PowerShell script |
| Privileges | Standard user — no Administrator required in most cases |
Important This script will completely remove Vineforce Teams Lite and all associated data. If you want to keep any data, back it up before running this script.
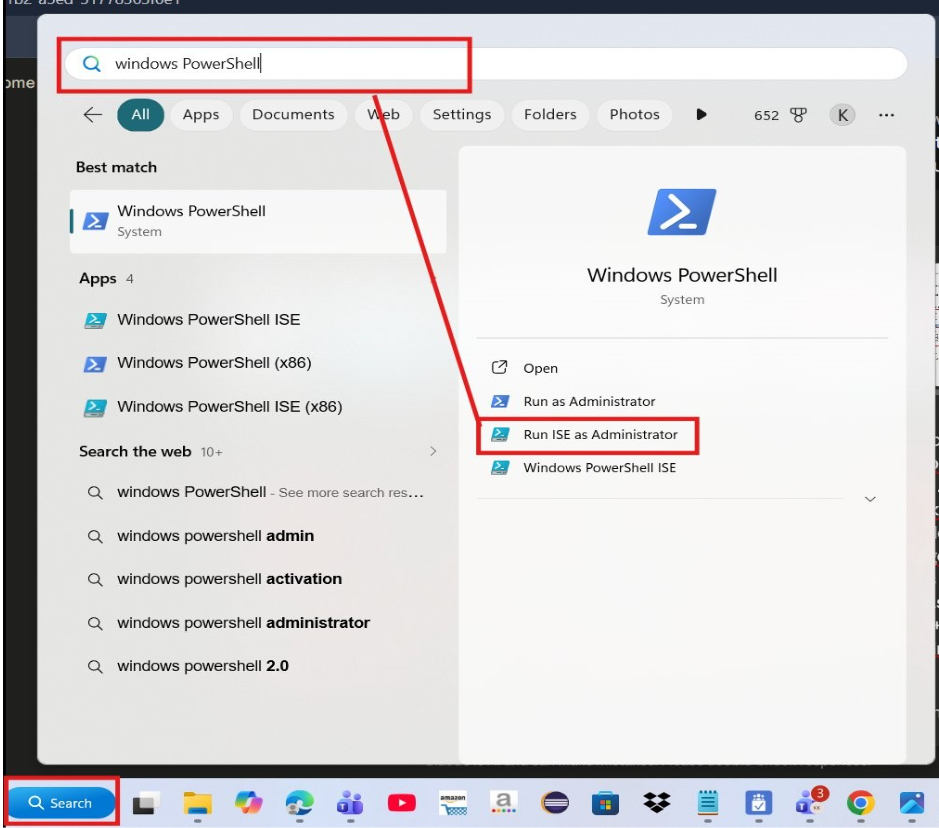
Step 1: Download the Cleanup Script
Download cleanup-vineforce-lite-Window.ps1
Save the script to your Windows machine. For example:
# Save to your Downloads folder
C:\Users\YourName\Downloads\cleanup-vineforce-lite-Window.ps1

# Or to a dedicated folder
C:\Users\YourName\installers\cleanup-vineforce-lite-Window.ps1
Step 2: Run the Script with PowerShell
Open PowerShell and run the script.
-
Navigate to the folder where the script is saved:
cd $env:USERPROFILE\Downloads -
Allow the script to run by setting the execution policy for this session:
Set-ExecutionPolicy -Scope Process -ExecutionPolicy Bypass -
Run the script:
.\cleanup-vineforce-lite-Window.ps1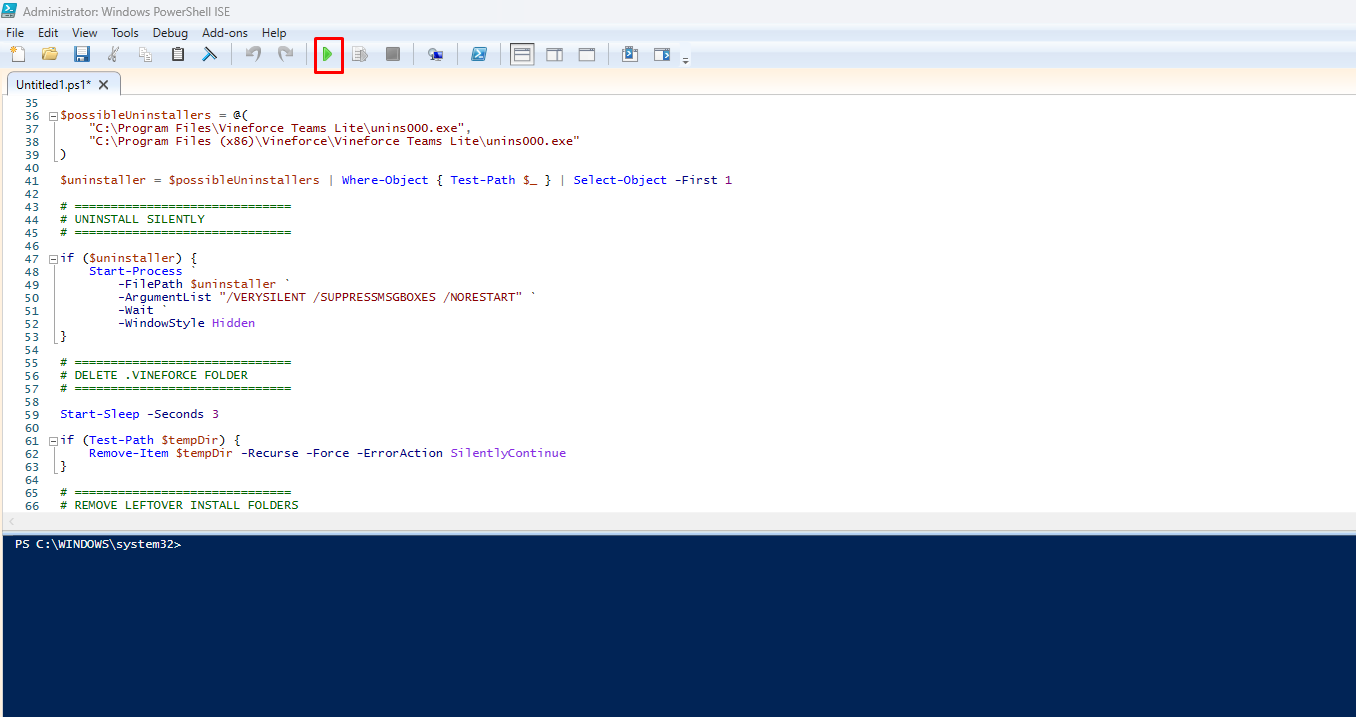 The script will now run automatically — no further input is needed.
What the Script Does (Automatic Steps 3–5)
Once started, the script runs fully automatically. Here is exactly what happens:
Step 3: Stop Running Processes (Automatic)
The script first checks for any running Vineforce Teams Lite processes.
- If processes are found → stops them forcefully
- If no processes are found → continues to file deletion
⏹ Stopping running Vineforce Teams Lite processes...
✅ Stopped process ID 5432
Step 4: Delete Application Files (Automatic)
After stopping processes, the script:
-
Deletes the extracted application folder:
%LOCALAPPDATA%\.vineforce\public\ -
Removes all application binaries and supporting files
Deleted application folder: C:\Users\YourName\AppData\Local\.vineforce\public
Step 5: Delete User Data (Automatic)
Finally, the script:
-
Deletes the entire
.vineforcefolder:%LOCALAPPDATA%\.vineforce\ -
Removes all user data including:
- Authentication tokens
- Configuration files
- Local cache data
- Activity logs
Deleted user data folder: C:\Users\YourName\AppData\Local\.vineforce
✅ Vineforce Teams Lite cleanup complete.
Step 6: Verify Complete Removal
After the script completes, confirm the application has been fully removed.
Check for Running Processes
Open a new PowerShell window and run:
Get-Process | Where-Object { $_.Name -like "*Vineforce*" }
No processes should appear in the output if cleanup was successful.
Check for Remaining Files
Confirm the folders have been deleted:
Test-Path "$env:LOCALAPPDATA\.vineforce"
This should return False if cleanup was successful.
Check Application Folder
Try to list the application folder:
Get-ChildItem "$env:LOCALAPPDATA\.vineforce"
You should see "Cannot find path" if cleanup was successful.
Troubleshooting
| Problem | Solution |
|---|---|
execution of scripts is disabled | Run Set-ExecutionPolicy -Scope Process -ExecutionPolicy Bypass before executing the script. |
| Script permission denied | Right-click the script → Properties → check Unblock, then retry. |
| Process won't stop | Open Task Manager, manually end the Vineforce process, then re-run the script. |
| Files not deleted | Close all Vineforce windows first. If the issue persists, run PowerShell as Administrator. |
| Script fails mid-execution | Run the script again. It's safe to run multiple times as it checks for file existence before attempting deletion. |
Manual Removal (Alternative Method)
If the script fails or you prefer to remove files manually:
1. Stop Running Processes
Stop-Process -Name "*Vineforce*" -Force
2. Delete Application Files
Remove-Item -Recurse -Force "$env:LOCALAPPDATA\.vineforce\public\"
3. Delete User Data
Remove-Item -Recurse -Force "$env:LOCALAPPDATA\.vineforce\"
4. Verify Removal
Get-Process | Where-Object { $_.Name -like "*Vineforce*" }
Test-Path "$env:LOCALAPPDATA\.vineforce"
Best Practices
- Stop the application first before running the cleanup script for a graceful shutdown
- Back up important data before running the cleanup if you need to preserve any information
- Run the script as the same user who installed the application to ensure proper file access
- Check for running processes after cleanup to confirm complete removal
- Reboot if necessary to ensure all processes are terminated and files are unlocked
What's Next?
After successfully uninstalling Vineforce Teams Lite, you can:
- Reinstall the application using the Windows installation guide
- Install on a different machine using the same process
- Contact support if you experienced any issues during uninstallation
Returning to install Vineforce Teams Lite? See our Windows installation guide.