Install Vineforce Teams | Windows
- Purpose: Install the Vineforce Teams desktop collaboration and tracking application on Windows.
- Navigation: Log in to the web portal, go to the Downloads menu, and select Vineforce Teams (Desktop Application).
- Installation: Run the downloaded
Install-VineforceTeams.batfile and accept Windows security prompts. - Impact: Activates desktop access, creates desktop shortcuts, and launches the tracking application interface automatically.
Windows 10 / 11
What is the Vineforce Teams Desktop Application?
Vineforce Teams is a desktop collaboration and activity tracking application that enables users to securely access their organization, collaborate with team members, track work hours, and stay connected through a unified desktop experience.
This guide walks you through the simplified installation process using our automated one-click installer for Windows.
What are the Windows Prerequisites?
Ensure the target Windows machine meets the following requirements before starting:
| Requirement | Details |
|---|---|
| Operating System | Windows 10 or Windows 11 |
| Privileges | Local Administrator privileges required to run the installation script |
| Internet Access | Active connection required to download the installation package |
| Disk Space | Minimum of 200 MB of available storage |
How to Download and Install Vineforce Teams Desktop
Step 1: Sign In to the Web Portal
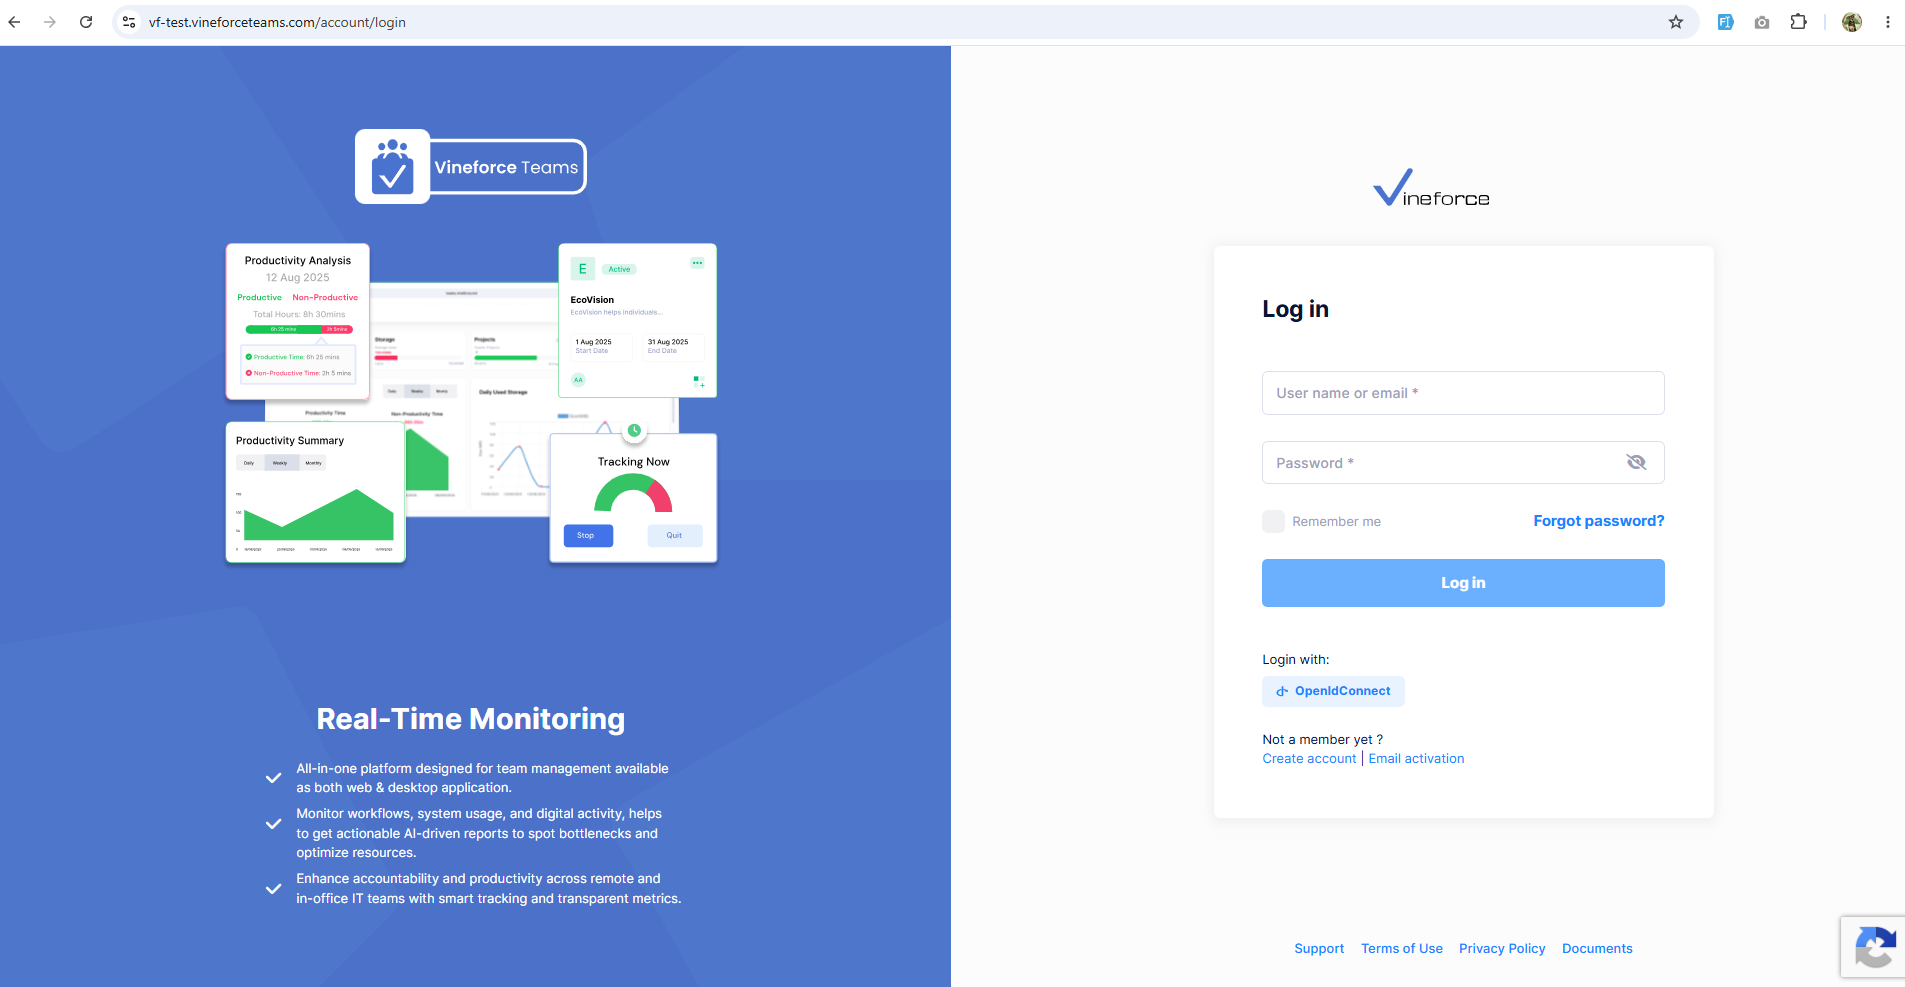
Log in to your organization's Vineforce Teams web portal. The URL is specific to your tenancy:
https://<your-tenancy-name>.vineforceteams.com/account/login
Example: If your tenancy name is vf-test, the login URL would be https://vf-test.vineforceteams.com/account/login.
Step 2: Download the Application Installer
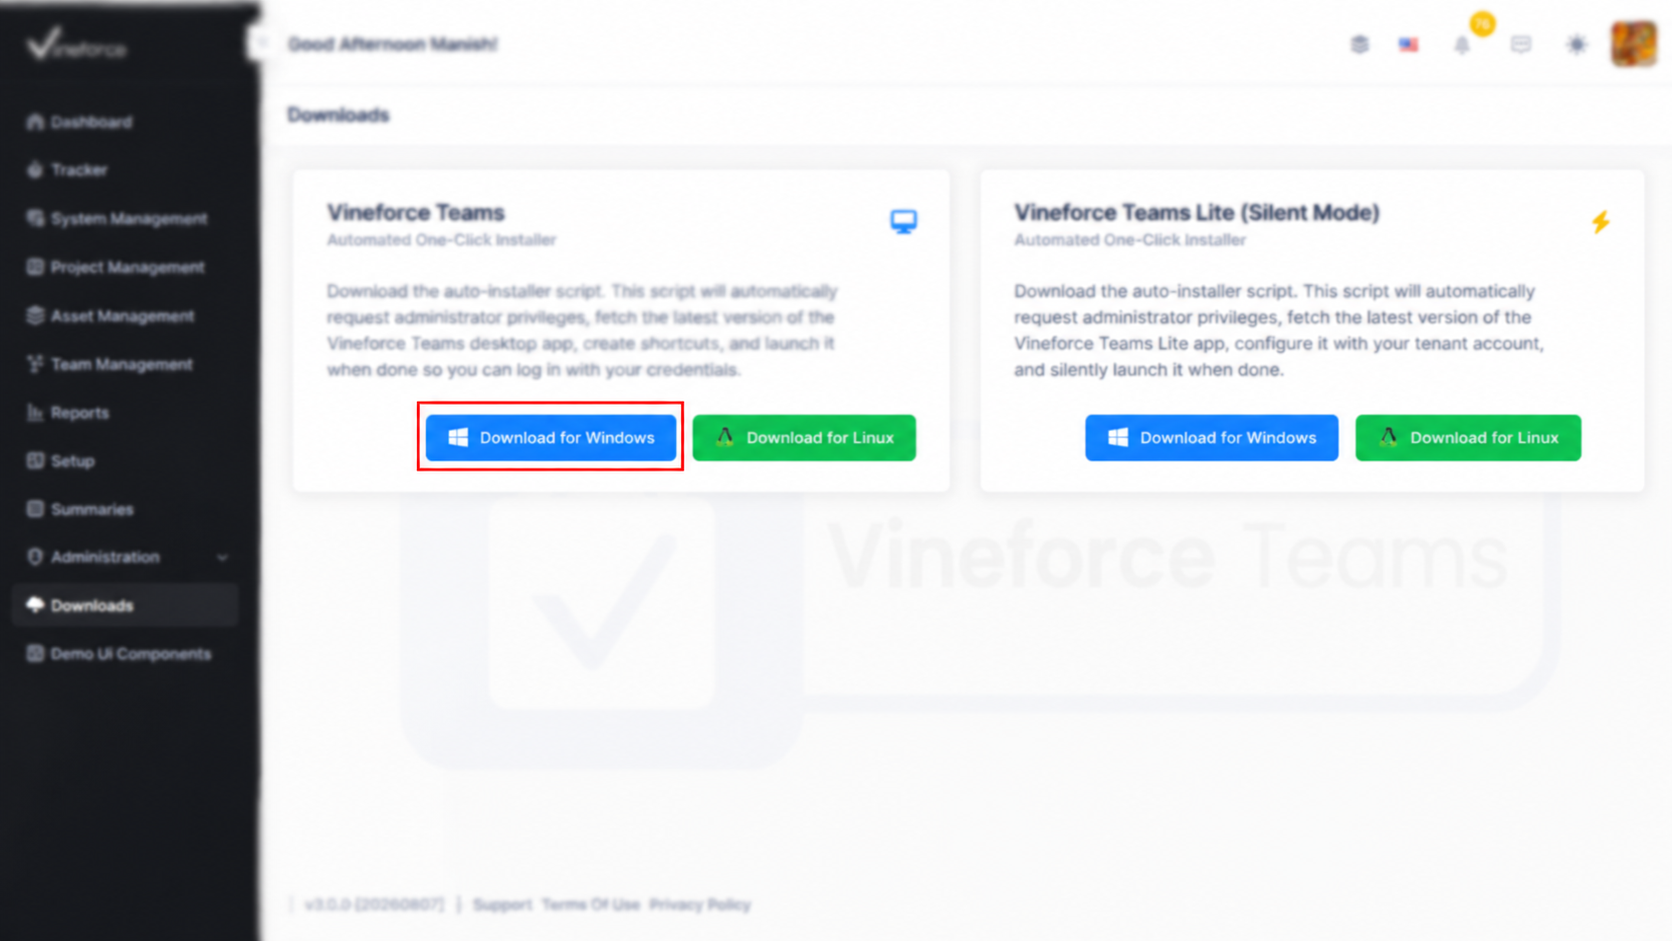
- Navigate to the Downloads section from the left-hand navigation menu.
- Locate the Vineforce Teams (Automated One-Click Installer) section.
- Click Download for Windows.
This action downloads a batch script file named Install-VineforceTeams.bat to your local computer.
Step 3: Run the Installer
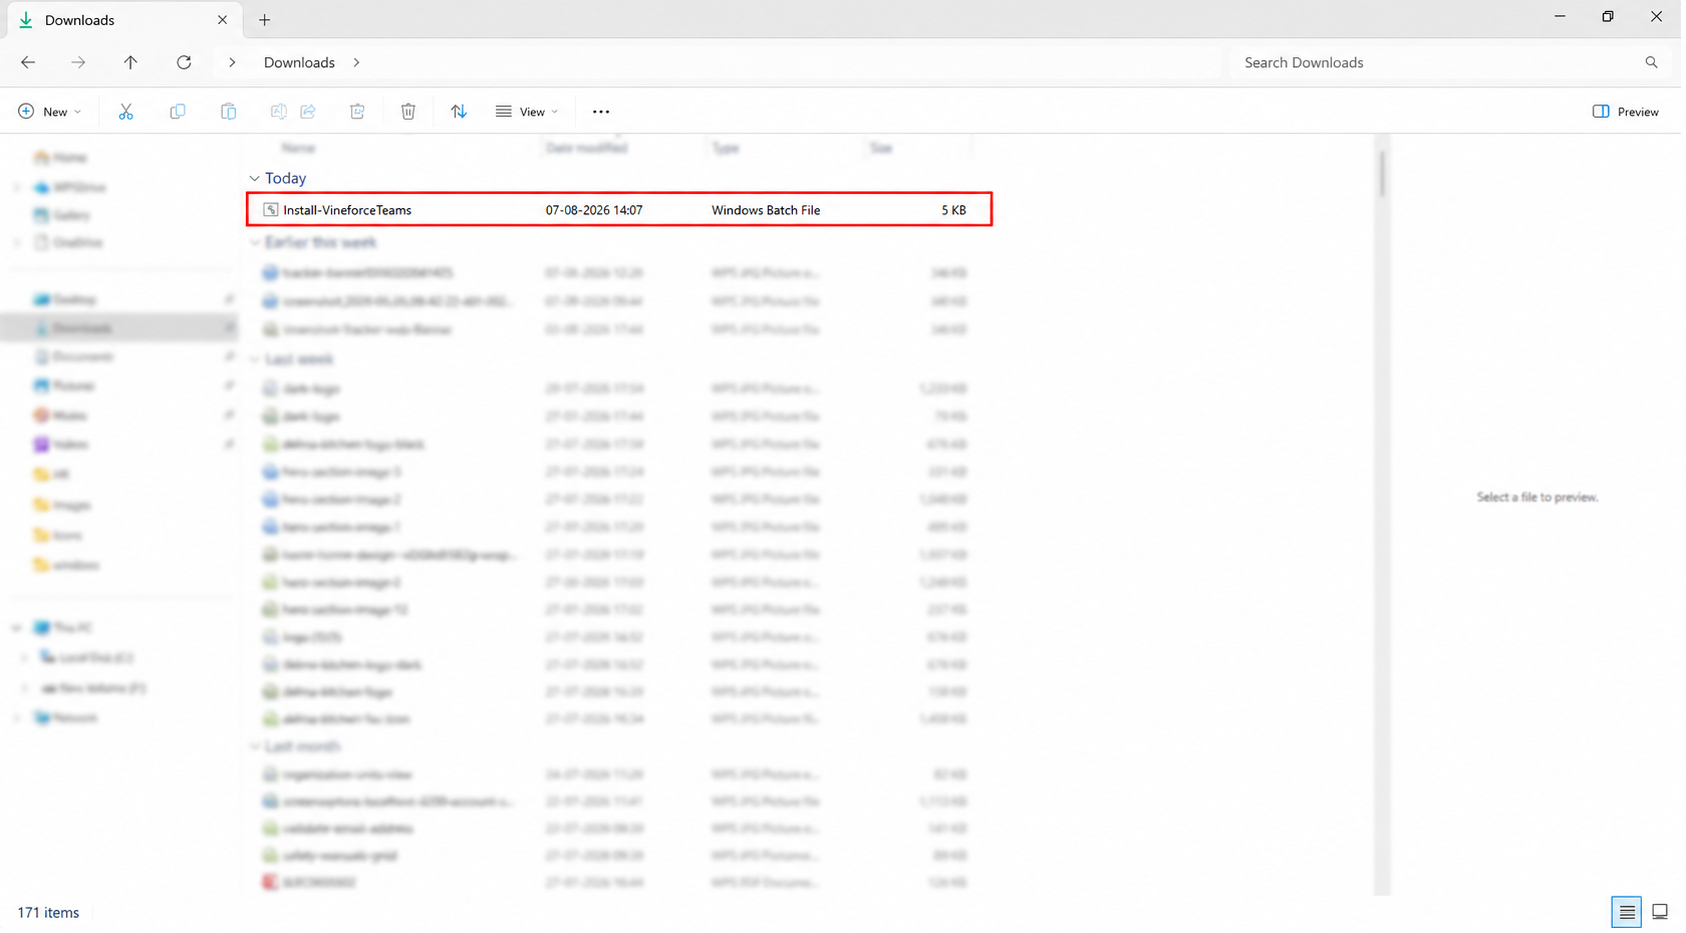
- Open your local Downloads directory (or the destination folder).
- Double-click the
Install-VineforceTeams.batfile to launch the setup.
Step 4: Accept the Windows Security Warning
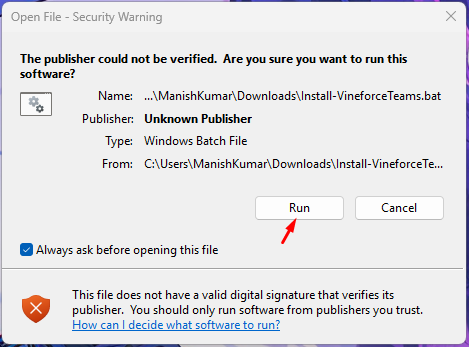
Windows may display a standard security warning popup or a User Account Control (UAC) alert. Click Run or Yes to allow the installer to apply system changes.
Step 5: Complete the Installation
A Command Prompt (CMD) console window will launch automatically. The installer script executes the following stages:
- Downloads the latest version of the Vineforce Teams Desktop application.
- Installs the application silently.
- Creates desktop and startup shortcuts.
- Cleans up temporary installation files.
- Launches Vineforce Teams automatically.
Once the console displays "INSTALLATION COMPLETED SUCCESSFULLY", the setup is done, and you can close the Command Prompt window.
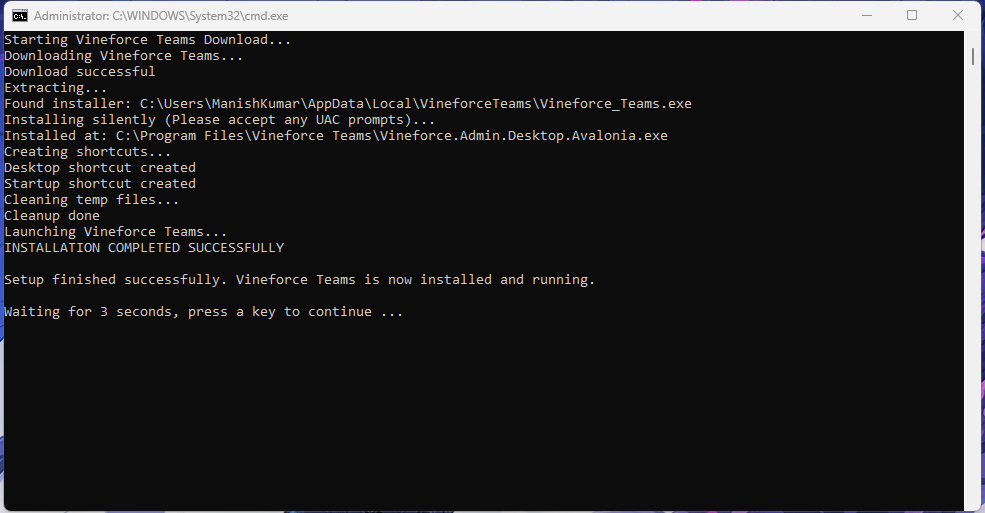
Congratulations! Vineforce Teams has been successfully installed on your Windows computer. A shortcut is now available on your desktop, and the application has launched automatically. You can now log in and start collaborating.
How to Troubleshoot Windows Installation Errors
Refer to the troubleshooting guide below if you encounter errors:
| Problem | Potential Cause | Recommended Solution |
|---|---|---|
| SmartScreen Warning | Untrusted script alert | Click "More Info" on the blue popup, then select "Run Anyway". |
| Antivirus Quarantine | False positive alert | Whitelist the Install-VineforceTeams.bat file in your antivirus settings. |
| No Desktop Icon | Script interrupted | Re-run the batch file as an administrator to ensure shortcut creation finishes. |
Frequently Asked Questions (FAQ)
What features does the Desktop application provide?
The Desktop application contains a full user interface for chat, file sharing, collaboration dashboards, task boards, and manual tracker controls (Working, Meeting, and Private tracking modes).
Do I need to map my desktop application to my user account?
Yes. If logs uploaded from this computer are unassigned, your system administrator must map the machine hostname to your active profile in the admin portal under Tracker → Unassigned Logs.
How do I update the application?
The desktop application automatically checks for updates during startup. You can also re-run the batch installer to force-install the latest version.
Related Functionality
- Reconcile Unassigned Logs: Learn how to map time tracking logs synced from this machine to employee profiles.
- Tracker Settings: Adjust intervals, idle thresholds, and screenshot quality.
- Uninstall Vineforce Teams Desktop: Steps to uninstall the desktop collaboration panel.